
21 Jun Yin Yoga Poses for Beginners
This week I want to highlight Yin Yoga poses for beginners. What is Yin Yoga in the first place, and what makes it different from the other kinds of yoga?
Why is it called Yin?
The name comes from yin-yang, drawing from the Chinese philosophy of interconnecting and balancing opposites. The black side is yin, the white is yang.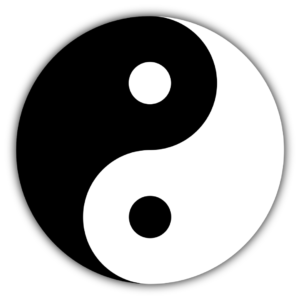
Yin qualities are dark, solid, cooling, slow, heavy. The moon and nighttime are considered yin.
Yang qualities are bright, hollow, warming, active, and light. The sun and daytime are considered yang. No one thing is inherently yin or yang. The words are used in context.
For example, dusk is yin compared to midday, but yang compared to midnight. Connective tissue is yin compared to muscle, but yang compared to bone. Context is key.
From this we get Yin Yoga—a practice that’s yin compared to more active styles of yoga. In practice you hold a posture, usually seated or lying on the floor, for 1.5 to 5 minutes at a time.
What’s the practice look and feel like?
As you marinate in the shape your practice is passive. As you settle into not-doing and physically let go, your body may feel more solid and grounded. Your muscles aren’t asked to work much at all, so the pull of gravity brings the weight of your bones down towards the earth.
 This puts healthy stress on your connective tissues. The exercise, the yin approach to the postures, targets your connective tissues. The practice can increase your range of motion and your comfort being passive, still, and slow. It’s also a way to dip your toes into the silence of meditation while doing something with your body (besides just sitting still).
For a taste of Yin Yoga, try out some of the poses below
You can set a timer on your phone for 1.5 minutes to start, then work your way up to a 3-, 4-, or 5-minute hold.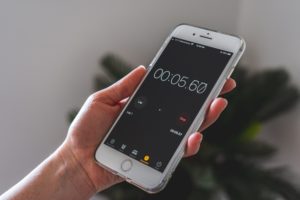
Although the postures might not be the pinnacle of comfort, if your body sends you threat signals (e.g. sharp or shooting pains “Ow! Stop!”) allow yourself to adjust your position or skip the shape entirely. Not every pose is right for every body, and every day might be different.
Under each photo I’ll list instructions to get into the pose and some ways you might use props to make the posture more accessible, easier for you to hold for some time.
Always adjust your position so that the shape you’re in feels right to you. Sometimes this is hard to tell. If so, hold the pose for less time. No matter what, rest for 1 minute or 5 slow breaths after each shape to observe the echoes of sensation from a neutral position.
There is a lot to feel in Yin Yoga and ample time to feel it, both while holding the pose and after coming out of it.
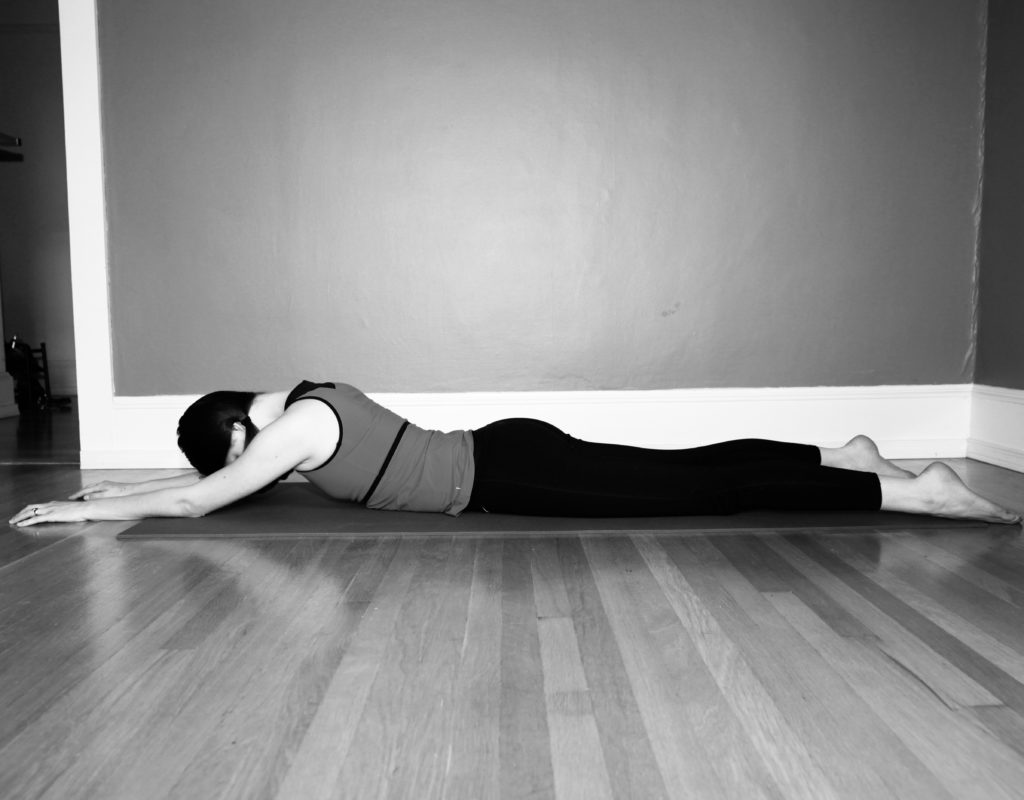
Prone Hip Hike
 1. Lay prone on your belly with your arms in a goal post shape and one cheek on the floor. If this hurts your neck or shoulders, you can stack your palms and rest your forehead on the backs of your hands. If your front hips are bony, spread a folded blanket or bath towel underneath your hips.
2. Hike one of your knees up towards your arm pit. You don’t have to bring it very far, just enough to feel some sensation in your inner thigh or hip.
3. It’s ok to let your yourself roll a little to the side, or keep your pubic bone flat(ish) on the floor. Whatever feels best. You might also side bend your upper body a bit towards your hiked knee (as pictured).
4. Hold the pose for 1.5 to 5 minutes.
5. Rest on your belly for 1 minute or 5 slow deep breaths between sides.
6. Change sides. Rest again.
Sphinx
6. Hold for 1.5 to 5 minutes. Reminder to come out of this and any shape when and if your body sends you the signal that you’ve had enough. No need to hold it longer than that.
7. Lower your chest and head back down to the floor, prone on your belly again. Stay fairly still and breathe into your low belly for 1 minute or 5 slow breaths.
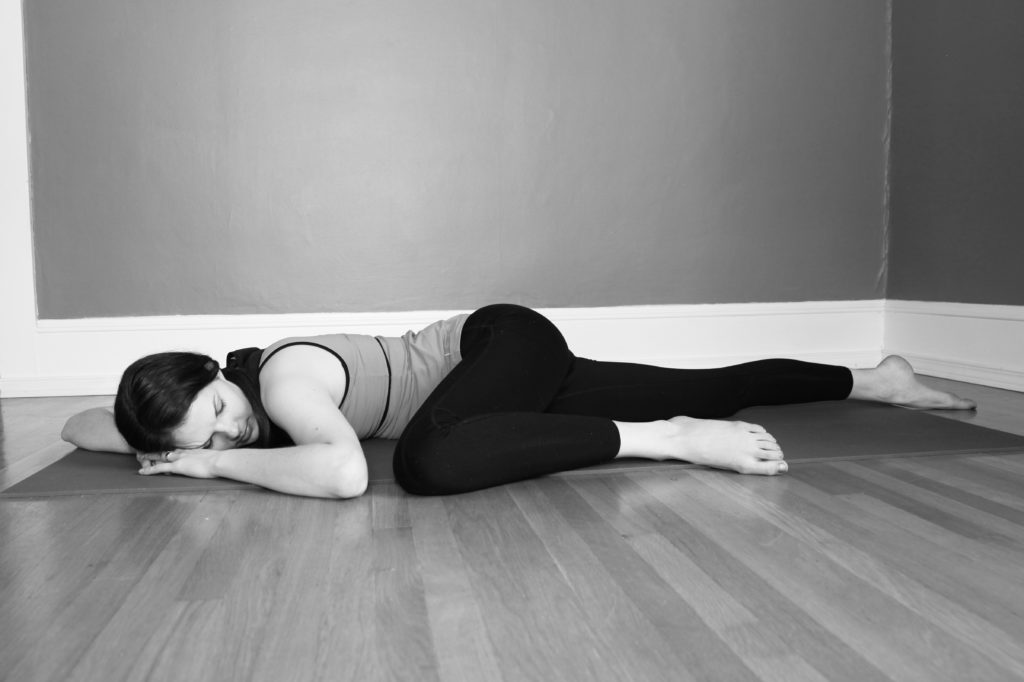
Wide Legs Child’s Pose
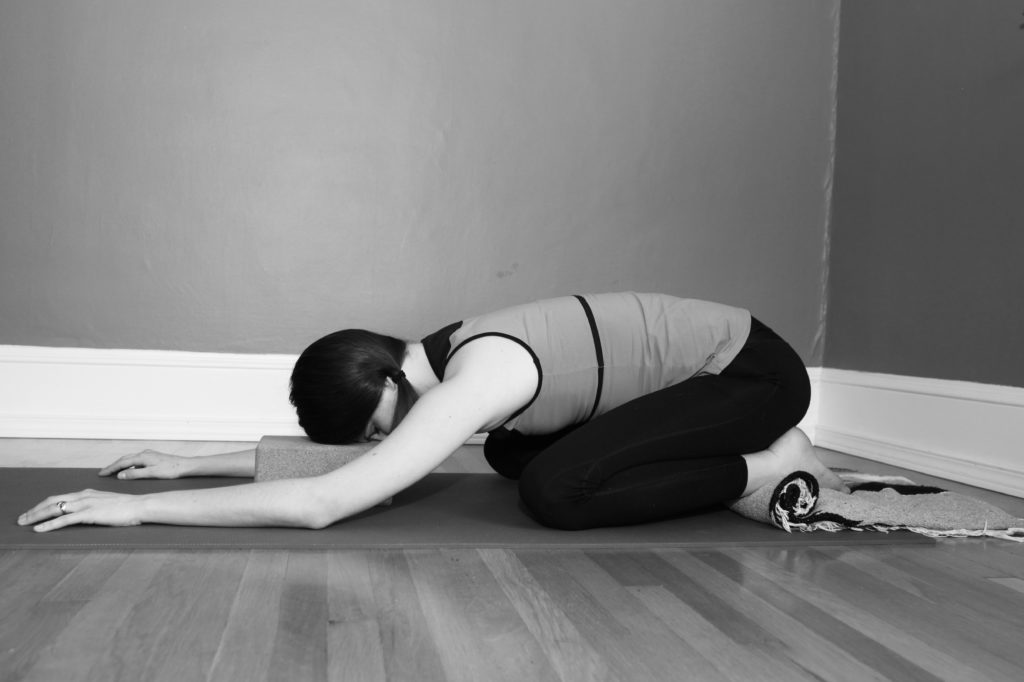
1. If the tops of your feet are tight or your ankles hurt in child’s pose, roll up a blanket or bath towel and place the tops of your feet across the roll. If you don’t already know, you’ll find out if you need this once you get into the pose. If your ankles hurt, try the roll. Take the time you need to get set up. You hold the pose for long enough to make it worth it.
2. Start on all fours, your hands and knees, with or without your feet over the blanket roll.
3. Bring your big toes to touch and spread your knees wider than your hips.
4. Sit your hips back to your heels. From here, you can spread your knees as wide as you like. The wider they go, the more intense you’ll feel the shape. Up to you. Always listen to your body! Discomfort in Yin Yoga is okay, pain and threat signals need to be tended to. No need to be in pain in practice, ever.
5. Crawl your arms forward and bring your forehead down to the ground. If it’s hard to bring yourself forward, try placing a block or another prop (like a balled up blanket or pillow) underneath your head or head and torso.
6. Hold the pose for 1.5 to 5 minutes.
7. To come out, bring your hands underneath your shoulders and lift your torso enough to walk your knees in towards center.
8. You can rest in a closed-leg child’s pose or come back up through hands and knees to make your way onto your back. Find a comfortable, neutral, easy-for-you position and hold for 1 minute or 5 slow breaths.
~~~
I hope you find some time to practice this week and enjoy these yin yoga poses for beginners!
Image Credit:
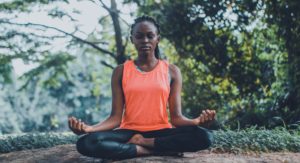
- Meditation photo by Oluremi Adebeyo
- iPhone timer photo by Castorly Stock
- Black and white Yin Yoga pose photos by Ashley Brocato